Last Updated: 2024-01-23
Background
Data products represent a new way of consuming, transforming, and managing data that leverages product thinking to create a curated, user-friendly, and accessible experience. This helps open data to new uses and new users, promising to usher in a new era for data analysis and data engineering alike.
To achieve this, datasets, metadata, and access controls are bundled into a single package, which can then be accessed, stored, or shared in accordance with role-based and attribute-based access controls. Their impact on organizations is often pronounced, impacting both data engineers and data consumers.
Data products are a fundamental part of Starburst Galaxy, and creating them inside the system is both easy and intuitive.
Scope of tutorial
This tutorial will get you started using Starburst Galaxy data products. You will practice creating and editing data products in your own Starburst Galaxy account.
Prerequisites
You need a Starburst Galaxy account to complete this tutorial.
- Please see Starburst Galaxy: Getting started for instructions on setting up a free account.
Learning outcomes
Upon successful completion of this tutorial, you will be able to:
- Promote a schema to a data product.
- Add metadata to a data product.
- Find, view, and query the data from a data product.
- Delete a data product.
About Starburst tutorials
Starburst tutorials are designed to get you up and running quickly by providing bite-sized, hands-on educational resources. Each tutorial explores a single feature or topic through a series of guided, step-by-step instructions.
As you navigate through the tutorial you should follow along using your own Starburst Galaxy account. This will help consolidate the learning process by mixing theory and practice.
Tutorial scenario
At Burst Bank, data consumers face challenges when searching for datasets. This issue prompts them to submit numerous, often redundant requests to the bank's data engineers. Consequently, waiting times for these datasets are prolonged. Additionally, this situation contributes to the emergence of multiple datasets with nearly identical names but minor differences.
This scenario leads to divergent results for data consumers, even when they believe they are working with the same datasets. Ultimately, the difficulties with data discovery and duplication have eroded the confidence that data consumers have in the reliability of the provided datasets.
Burst Bank took an initial step to address these problems by establishing a repository of approved and standardized datasets for data consumers. This initiative has achieved some success, but a persistent issue remains. Not every data consumer or team is aware of this change, resulting in ongoing requests for the same data sets. Data discoverability remains an issue.
Burst Bank has decided to further enhance data discoverability by implementing data products within Starburst Galaxy. Help Burst Bank create its first two data products by completing this tutorial.
Background
In Starburst Galaxy, data products are built using schemas as the primary building blocks, but a data product is much more than just a schema. It includes the entire ecosystem surrounding that schema and everything needed to access and share it.
In this sense, you can think of a data product as a package consisting of a schema, the data inside it, all corresponding metadata, and the access controls needed to view and query that dataset.
The process of wrapping up this package occurs when a schema is promoted to a data product. Once promoted, the data product can be accessed or shared in accordance with the access controls placed on it.
In this section, you'll promote a schema with no existing metadata to a data product.
- Watch the video demo.
- Afterwards, complete the steps below using your own Starburst Galaxy account.
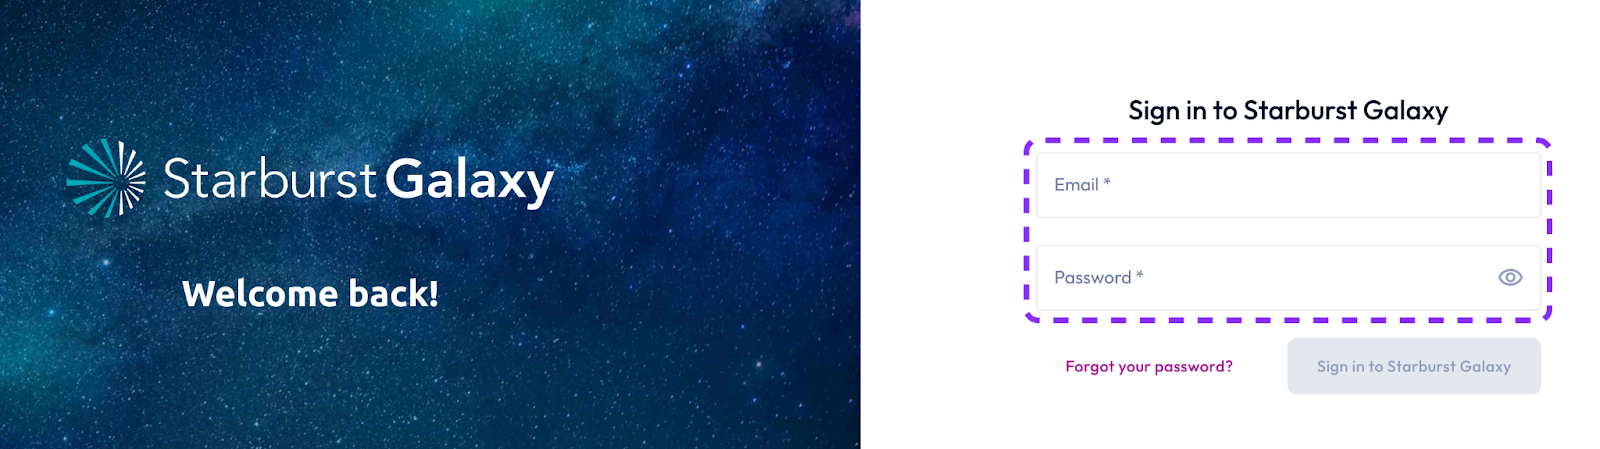
Step 1: Sign into Starburst Galaxy
Sign into Starburst Galaxy in the usual way. If you have not already set up an account, you can do that here.
Step 2: Set your role
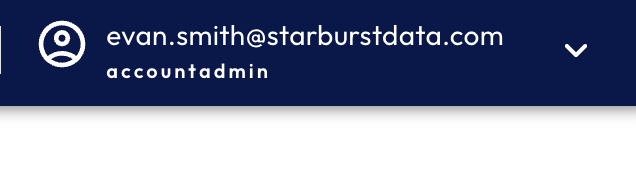
Starburst Galaxy separates users by role. Creating a new data product will require access to a role with appropriate privileges. Today, you'll be using the accountadmin role.
Your current role is listed in the top right-hand corner of the screen.
- Check your role, to ensure that it is set to accountadmin.
- If it is set to anything else, use the drop-down menu to select the correct role.
Step 3: Enable the aws-us-east-1-free cluster
You're going to be using the same cluster, aws-us-east-1-free, that you set up on the Starburst Galaxy: Getting started tutorial.
Enabling a default cluster is an important step when creating a data product because it determines the cluster that will be used whenever that data product is accessed in the future. For this reason, the cluster you select should be one that works for current and future users of the data product.
- In the left-hand navigation menu, click Clusters.

Step 4: Confirm cluster enabled
It is always best practice to confirm that a new cluster has been enabled successfully.
- Confirm that the aws-us-east-1-free cluster is Enabled in the display panel.

Step 5: Promote a schema to a data product
For this tutorial, you're going to use the Burst Bank PostgreSQL dataset that you created in the Starburst Galaxy: Getting started tutorial. That dataset contains a number of schemas, one of which will be used to create a data product.
Scenario: The first schema that Burst Bank would like to promote to a data product is the burst_bank_with_stats schema located in their postgresql catalog.
- Select Catalogs.
- In Catalog Explorer, expand the
postgresql_burst_bankcatalog. - Select the
burst_bank_with_statsschema. - Click the Promote to data product button.

Step 6: Describe the data product
Data products are meant to be used and shared across teams. This means that naming them, providing context, and writing clear descriptions of the schema inside is critical.
- In the Data product name field, type Burst Bank.
- Enter a meaningful Summary.
This should be a description of the dataset and some of the context that surrounds it.

Step 7: Describe the data product using markdown
Including a thorough description along with relevant background information in a data product increases its value to data consumers.
In Starburst Galaxy, you can use Markdown Language to format data product descriptions. This enables you to incorporate various elements such as images, links, code snippets, and more. These formatting elements ensure that data consumers have access to all the necessary background information in a single location.
- Paste the following Markdown into the Description box. Be sure to copy all of it.
# Burst Bank
Burst Bank is a fictional bank with fictional employees, customers, and accounts. It contains nine tables, including the following:
* account
* auto_loan_payment
* credit_card_payment.
## Products
Burst Bank customers can obtain credit cards, mortgage loans, and auto loans.
## Common uses
Most often, this database is used to understand which customers to target for up- and cross-sell campaigns.
Use the following query as a starting point:
```
SELECT c.first_name, c.last_name, c.estimated_income, a.products, a.cc_number, a.mortgage_id
FROM burst_bank_with_stats.customer c
JOIN burst_bank_with_stats.account a on a.custkey = c.custkey;
```
## Image
Burst Bank's logo
Step 8: Preview the description
After entering the markdown text, you can test how it renders before completing the process.
- Click the Preview description button. This will verify that the information is displayed correctly.
- Review the description preview.
- If you are satisfied with the preview, click the Close button.


Step 9: Select a default cluster
When a user navigates from the data product to the query editor, the default cluster will be pre-populated in the query editor.
- Select the aws-us-east-1-free cluster from the default cluster drop-down menu.

Step 10: Finish promoting the data product
You can add other supporting information to help users understand your data product. This is important and helps ensure that your data product's use and value can be determined by other team members.
In this step, we'll add a link and a contact so that others in the organization can contact you if they encounter difficulties.
- In the Text to display field, enter Google.
- In the Link URL field, enter https://www.google.com/.
- Add yourself as a contact in the Contacts drop-down menu.
- Click the Promote to data product button.

Background
In this section, you will promote a schema with existing metadata to a data product. Watch the provided video to see a demo, then complete the steps on your own.
Step 1: Select a schema to promote to a data product
The second schema that Burst Bank would like to promote is the employees schema from the postgresql catalog.
- Click Catalogs in the Navigation pane.
- Select the
employeesschema from thepostgresql_burst_bankcatalog.

Step 2: Show metadata
Now it's time to show the metadata. This will be used to create the data product.
- Click Show details above the metadata summary panel, or click the panel itself to display the metadata.

Step 3: Edit schema description
Now it's time to add in the schema description. Again, this should clearly indicate the context of the schema in question.
- Click the pencil icon in the Description row to add the description:
- You can add any description you want, but something like Org and employee information should be sufficient.
- Click the Save changes button.

Step 4: Add links to the schema metadata
Now you need to add links to the schema metadata. This differs from the previous data product you promoted, which had no metadata.
- Click the pencil icon in the Links row to add a link.
- Click + Add link.
- In the Text to display box, type Starburst.
- In the Link URL box, type https://www.starburst.io.
- Click Save changes.

Step 5: Add a contact to the schema metadata
It's always a good idea to add contact information when creating a new data product. This allows ownership in case of a question at a later date.
- Click the pencil icon in the Contacts row to add a contact.
- Expand the drop-down menu, and select yourself as the contact.
- Collapse the menu by clicking outside it.
- Click Save changes.

Step 6: Verify details
Now you're ready to begin creating the data product by promoting the schema.
- Verify that the Description field is correct.
- Verify that the tags field is correct.
- Verify that the links field is correct.
- Verify that the contacts field is correct.
- Verify that the owner field is correct.
- Click the Promote to data product button.

Step 7: Import metadata
Next, it's time to import any metadata from the schema into the new data product during the promotion process.
In this case, you'll want to select all three of the fields suggested.
- Select Description.
- Select Links.
- Select Contacts.
- Click the Import button.

Step 8: Review metadata details
Now it's time to review the details to see if they are correct. Notice that the description from the schema's metadata is now the data product summary field and that the link and contact were also imported and populated into the correct fields.
- Confirm that your details match those shown below.

Step 7: Finish promoting the employees schema to a data product
Almost there! It's time to finish adding the last few fields to promote your schema to a data product.
- In the Name field, enter Employees.
- In the Description field, paste the following Markdown:
# Employees
This database details a fictional org and employees
## Executive team:
* Jane Burst
* John Star
_______________________- Click the Preview description button.
- When you're satisfied with the preview, click the close button.
- Select aws-us-east-1-free as the default cluster.
- Click the Promote to data product button.
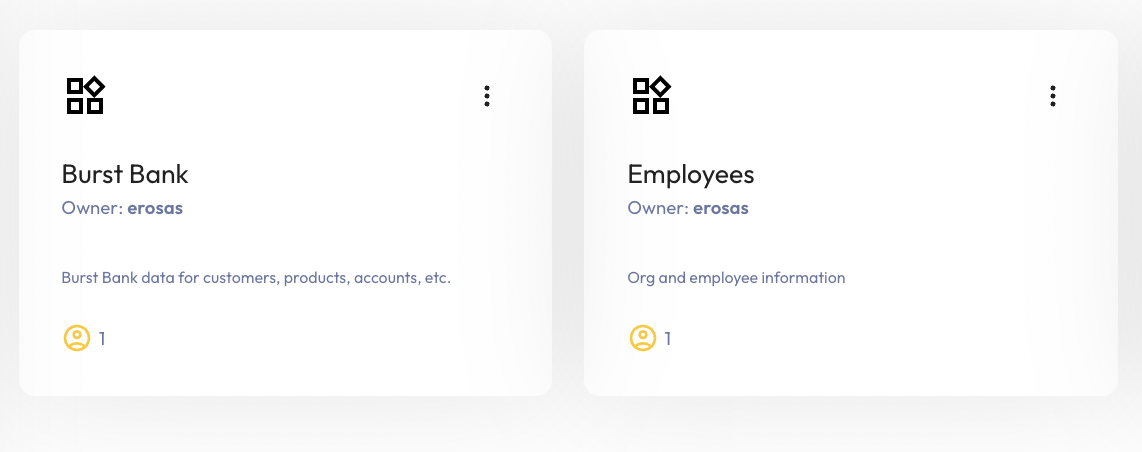
- You should now have two data product tiles, one for Burst Bank and one for Employees.
Background
In the last sections, you saw the process for creating data products. In this section, you're going to test out what it's like to actually use a data product to solve real data problems. You'll become comfortable finding, exploring, and querying data products in Starburst Galaxy, mirroring real-world scenarios.
Watch the video below to guide you through the process. When complete, follow the step-by-step instructions on your own using your own Starburst Galaxy cluster.
Step 1: Explore the data products section
In the Starburst Galaxy left-hand navigation menu, you'll find the Data products section. This is your first port of call when using data products. It will list all of the data products available for your role, and is your general jumping-off point for daily data product workflows.
You're going to get familiar using this section going forward.
- In the left-hand navigation menu, select Data products. You will see all of the available data products associated with your role, including the ones created earlier in this tutorial.
- You can view these data products either as a grid or as a table.
- Click the table icon to switch from grid display to table display.
- Click the grid icon to switch back to grid display.

Step 2: Search for a data product
Data products are also searchable, and this is one of the most popular ways that users incorporate them into their daily workflows.
The search box is also in the data products section, in the top right of the screen. You're going to test it out with a quick search.
- In the search box, enter employ.
- Notice that the search term is highlighted in the data product summary tile.
- You should see the Employees data product listed.
- When you are satisfied with the search feature, click the X to exit the search.

Step 3: Explore the options menu
The options menu is another great way of working with data products in Starburst Galaxy.
- Search for the Burst Bank data product.
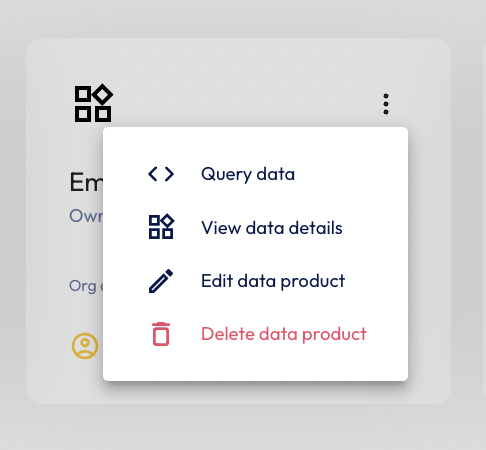
- In the Burst Bank data product, click the vertical ellipsis in the top right-hand corner of the tile.
- This will display the options menu specific to the Burst Bank data product.
- Notice four items appear in the options menu: Query data, View data details, Edit data product, and Delete data product.
- You can quickly launch any of these actions using this menu.
- For now, click outside the menu to return to the data product tile.

Step 4: Open the Burst Bank data product
Now it's time to explore inside a data product. You're going to use the Burst Bank data product again as an example.
- Click the Burst Bank data product tile.
- Examine the layout of the Burst Bank data product detail page.
- The details page of a data product displays the information you added when you promoted the schema to a data product.
- It also shows when the data product was created and last updated.
- Notice that the schema tags and details are not part of the data product metadata.


Step 5: View the schema associated with a data product
Data products are promoted from schemas. Starburst Galaxy allows you to view the corresponding schema associated with a given data product.
- Click the View schema button in the top right corner of the data product details page.

Step 6: View schema details
Starburst Galaxy takes you to the Catalog page showing the details of the burst_bank_with_stats schema. This is the schema that was used to create the Burst Bank data product.
Moving between data products and schemas is a useful way to view the schema that a data product is associated with, which can be useful for data lineage applications and other workflows.
- Take a minute to look around this section and note any details.

Step 7: Open the options menu from the data products details page
You can also open the options menu from the product details page.
- Click Data products in the left-hand navigation menu.
- Click the Burst Bank data product tile.
- Open the options menu by clicking the vertical ellipses in the top right-hand corner of the Burst Bank data product details page.
- The same four items that were in the options menu on the data product tile are now in this options menu as well. This includes: Query data, View data details, Edit data product, and Delete data product.

Background
When you promote a schema to a data product, the datasets in that schema are not copied into the data product.
Instead, when you query data from a data product, you're querying data from the underlying schema.
Starburst Galaxy includes features that let you flip from data product to query editor to help incorporate data products into your workflow.
Step 1: How to query from a data product
Your data product includes the sample query that you input earlier in the tutorial.
- Copy the SQL query from the Burst Bank data product description.
- It should resemble the following SQL.
SELECT c.first_name, c.last_name, c.estimated_income, a.products, a.cc_number, a.mortgage_id
FROM burst_bank_with_stats.customer c
JOIN burst_bank_with_stats.account a on a.custkey = c.custkey; 
Step 2: Using the query data button
You could just move to the query editor in the traditional way. But there is an easier way, using the Query data button. It will move you from the data products section to the query editor.
- Click Query data.

Step 3: Query the data
Notice that you are now in the Query editor and that the cluster, catalog, and schema have been pre-populated.
- Paste the SQL code that you copied into the Query editor.
- Click the Run (limit1000) button.

Background
Data product owners can delete data products from their details page. Doing so does not delete the underlying schema.
Step 1: Delete a data product
Deleting data products is easy and uses the options menu that you explored in previous steps.
- In the left-hand navigation menu, click Data products.
- Search for the Employees data product.
- Click the vertical ellipsis on the Employees data product tile to display the options menu.
- Select Delete data product.
- Confirm the deletion by clicking Yes, delete.

Tutorial complete
Congratulations! You have reached the end of this tutorial, and the end of this stage of your journey.
Now that you've completed this tutorial, you should have a better understanding of just how easy it is to use data products in Starburst Galaxy.
Continuous learning
At Starburst, we believe in continuous learning. This tutorial provides the foundation for further training available on this platform, and you can return to it as many times as you like. Future tutorials will make use of the concepts used here.
Next steps
Starburst has lots of other tutorials to help you get up and running quickly. Each one breaks down an individual problem and guides you to a solution using a step-by-step approach to learning.
Tutorials available
Visit the Tutorials section to view the full list of tutorials and keep moving forward on your journey!